Compose a Custom Keyboard
A satisfying build starts as a listening intention, not a shopping list. Decide what should be prominent, what should recede and what feel you want beneath your fingers. Then make choices that support that balance.
Read the build notesDifferent intentions, coherent systems
These are listening directions rather than fixed recipes. Components vary, and the assembled result is the only trustworthy reference.
Rounded and composed
Begin with a smooth linear or softly tactile switch whose contact event is not overly sharp. Pair it with a mounting arrangement that permits a little compliance, then evaluate a muted or less resonant plate and a well-fitted case.
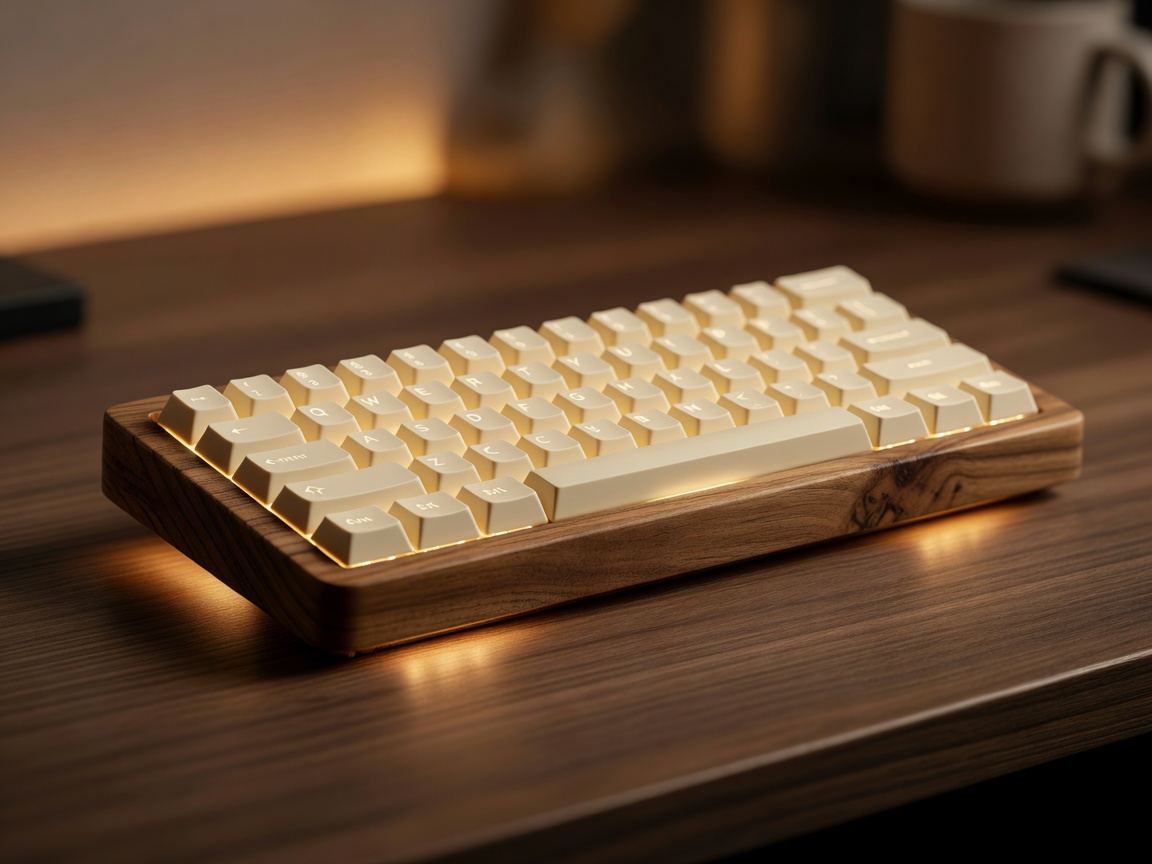
- Prioritize even, controlled downstroke impacts.
- Listen for spring noise on return before adding foam.
- Test a desk mat as an easy, reversible variable.
Open and articulate
Start with a switch that offers a clear contact or tactile event. A more direct plate and open case interior may preserve definition. Keep dampening selective so the sound has room to breathe without allowing an unwanted cavity ring to dominate.
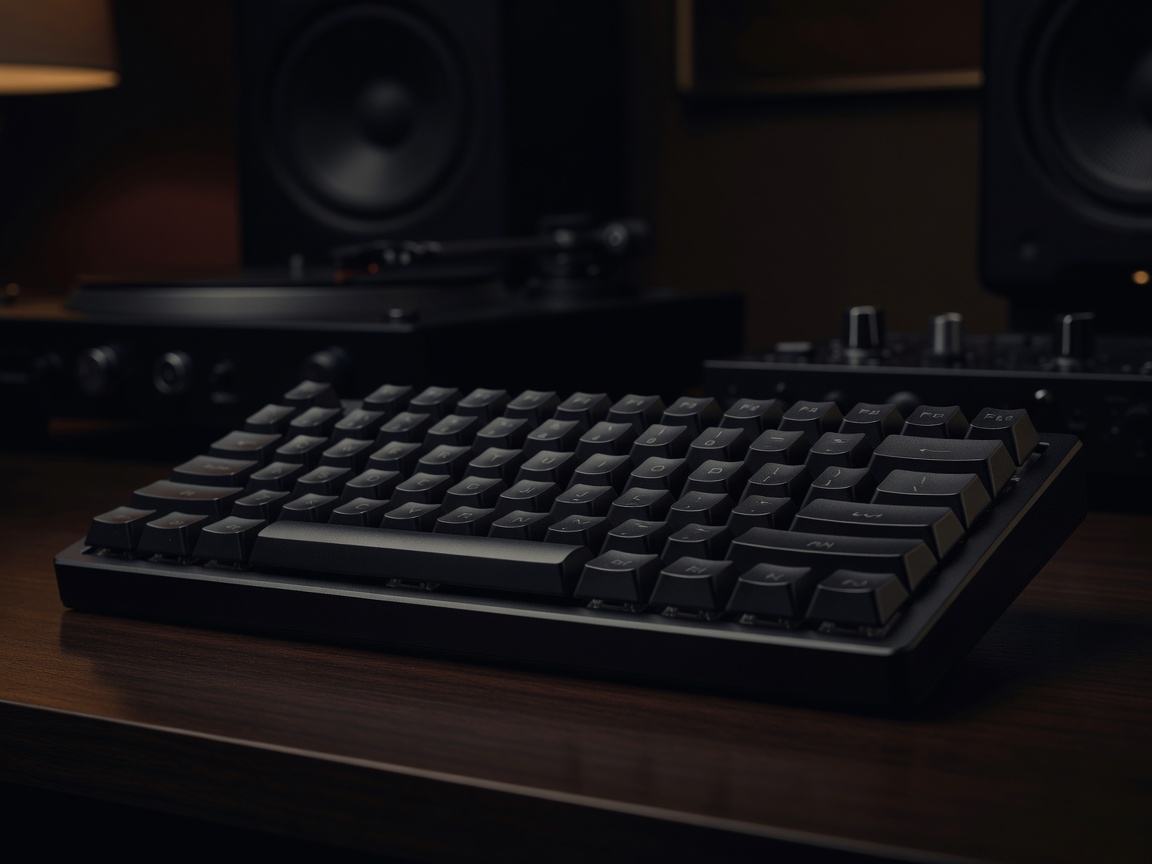
- Keep the switch note crisp without excessive harshness.
- Check for ringing after the initial event.
- Use material only where a specific resonance calls for it.
Change one variable at a time
- Write down the sound and feel goal in plain language.
- Confirm the case, PCB, plate and layout are compatible.
- Select switches and keycaps, then make a baseline recording.
- Assemble carefully and check stabilizers, seating and fasteners.
- Listen before tuning; diagnose a sound before treating it.
- Apply one reversible change, compare and record the result.
Compatibility is practical engineering: verify switch pin count and PCB support, plate cutouts, stabilizer format, case dimensions, mounting style and keycap layout. A component may be excellent in isolation yet unsuitable for a particular assembly.
Share a build question